

Maybe our fascination with sheet mulching started on a visit to the infamous Max Gill's flower garden in San Fransisco last March. "It's a mess!" he insisted. Indeed it was covered with cardboard, yet still the most exquisite clematis - vanilla scented! - bloomed, along with a smattering of hellebores here and there. Akebia, ecchevaria...I'm digressing, but lets take a quick look:
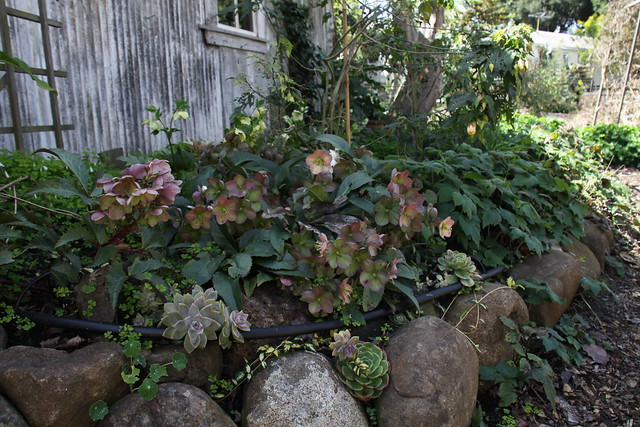


Anyway! The cardboard was for weed control; a weed barrier if you will that saves your back hours of work when it's time to plant. This stuck in my mind.
In February we have a big southern tier hellebore trip planned. Our goal is to accumulate a large selection of rare hellebores to serve two purposes; First to be used as specimens in our Hail to the Hellebore class the first week of March (we'll teach about them and then cut them up like the greedy florists we are), and Second to begin to establish a hellebore garden upstate for future cuttings.
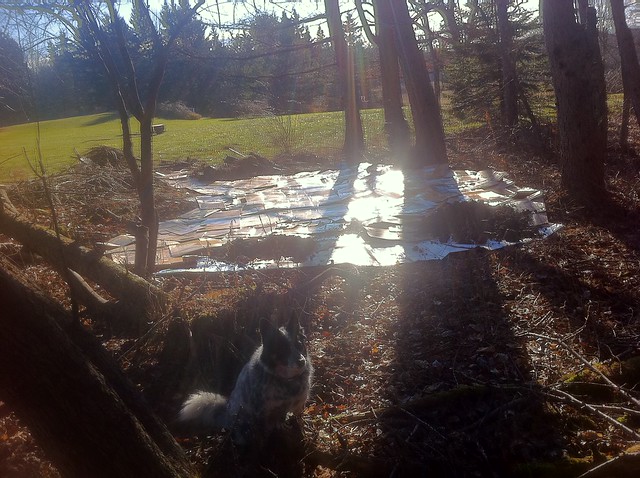
Our hellebore garden will happen in a large patch of pine trees. Sheet mulching this area now helps us prepare for an early April planting and will keep the weeds (and massive stretches of poison ivy) from coming up. Who wants to weed poison ivy? Not I, and judging by her recent work ethic, not Nea.
There is lots of information on the internet about sheet mulching - and different ways to do it - we did this:
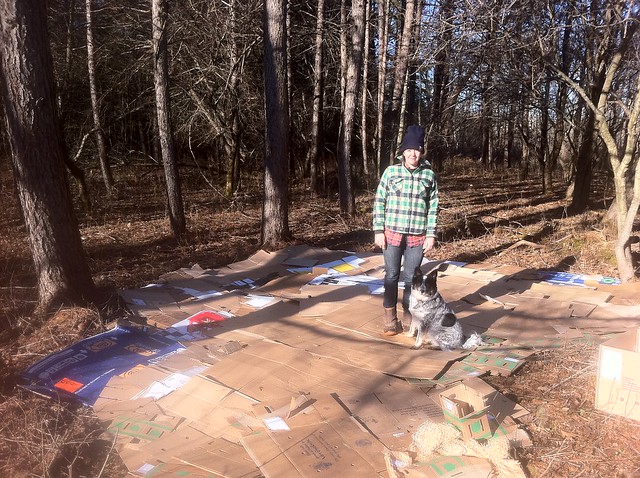
1. Lay down overlapping cardboard to frame out the area of the garden. It's important to really overlap them generously so that weeds can't find their way through. A nice way to use all those cut flower boxes from our studios...
2. Moisten the cardboard with water to help adhere it to the ground.
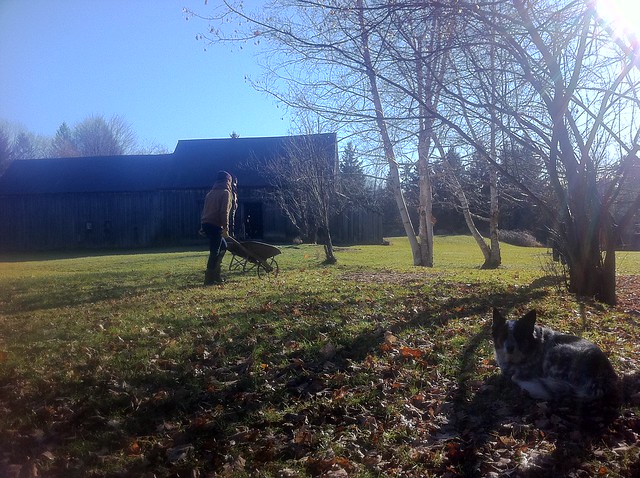
3. Cover the cardboard with this layer of seed-free top soil 3 inches thick. This took about 2 tons of top soil which we shoveled into the back of my pickup and then back out of my pickup to wheelbarrows. Next time we might find someone with a dump-truck.
4. Cover the soil with a layer of sawdust (from the Saipua soap dish mill).
5. Top it with a thin layer of mulch.
Voila! Let the worms get to work. In April we'll dig down to the cardboard, cut and X through it and plant the hellebores.

GREAT post! I love all the pix, but I especially love the "how-to" section! See ya in January!
ReplyDeletewe use this method on everything but instead of top soil, we use wood chips from a local arborist that are delivered for free.you can easily score mountains of them especially from the local power company's tree trimmers. winter is the best time because they are doing all of their line clearing and storm clean up. The chips break down to a thick crumbly chocolate cake like mulch with lots and lots of worms! they are also WAY lighter to wheelbarrow in than dirt ;)
ReplyDeleteThis is so wonderful. I look forward to seeing your hellebore collection!
ReplyDeleteYour sheet mulch will be more successful with more nitrogen. Check out this site: http://www.smilinggardener.com/organic-soil-management/sheet-mulching. I use okara in my sheet mulch (by-product of tofu), and grass clippings if I can get them. Many plants don't like sawdust (too acidic). Good luck! Clare
ReplyDelete